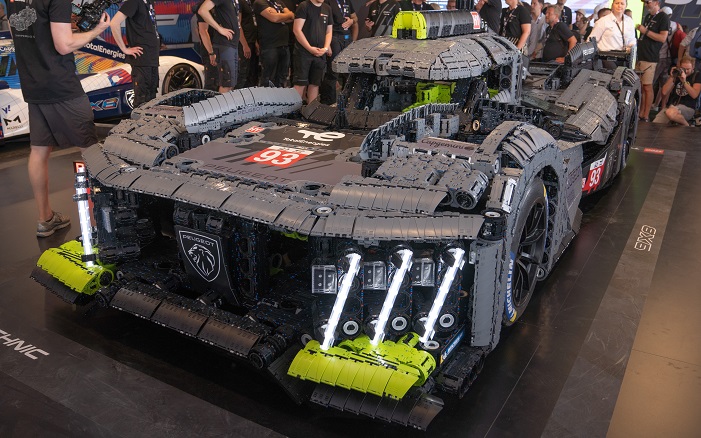
Building a LEGO car is a fun and creative activity that anyone can enjoy, whether you’re a kid or just a kid at heart. In this guide, I’ll walk you through the simple steps to create your very own LEGO car, even if you’re new to LEGO building. Let’s get started!
Why Build a LEGO Car?
Before we dive into the steps, you might wonder why building a LEGO car is such a great idea. Not only does it help you think creatively, but it also improves your problem-solving skills. Plus, the satisfaction of seeing your car roll smoothly across the floor is unbeatable!
What You’ll Need
To build a LEGO car, you’ll need a few basic LEGO pieces. Here’s a list to get you started:
- LEGO Wheels: 4 wheels that fit onto axles.
- Axles: 2 axles to connect the wheels.
- Base Plate: A flat piece to serve as the car’s foundation.
- Bricks: A variety of standard LEGO bricks to build the body of the car.
- Connectors: Smaller pieces to secure the wheels and add details.
Step 1: Build the Base of Your Car
Start by selecting a flat base plate. This will be the foundation of your car. Attach the axles to the bottom of the base plate, ensuring they are evenly spaced so the car can roll smoothly.
Step 2: Attach the Wheels
Next, attach the wheels to the axles. Make sure they are securely in place and can spin freely. Test the car by rolling it on a flat surface to ensure everything is working correctly.
Step 3: Build the Car Body
Now, it’s time to build the car’s body. Use your LEGO bricks to create a shape that you like. You can go for a simple boxy shape or get creative with curves and angles. Don’t worry too much about making it perfect; the key is to have fun and experiment.
Step 4: Add Details
Once the basic shape is done, you can add some details. Use smaller LEGO pieces to create windows, headlights, and other features that will make your car stand out. You can even add a spoiler or customize the front grille to give it a unique look.
Step 5: Test and Adjust
After you’ve finished building, test your LEGO car to make sure it rolls smoothly. If it wobbles or doesn’t move straight, check the wheels and axles to make sure they are aligned correctly. Make any necessary adjustments until your car works perfectly.
Tips for Building a Better LEGO Car
- Balance the Weight: Make sure your car is balanced to prevent it from tipping over.
- Experiment with Designs: Don’t be afraid to try different shapes and sizes.
- Use Gears: For more advanced builders, consider using gears to add functionality to your car.
Conclusion
Building a LEGO car is a great way to explore your creativity and learn some basic engineering principles. Whether you’re a beginner or an experienced LEGO builder, there’s always something new to discover. So grab your LEGO bricks and start building!


